Admit it or not, keeping track of all the credentials, such as usernames and passwords, is quite hazardous. You can’t keep your iPhone out of this if you haven’t set up a Touch ID or Face ID. If you unlock your iPhone using a six-digit-long passcode, then you might forget it when you haven’t used it for a long time.
On the other hand, the iPhone can lock itself indefinitely if you provide a wrong passcode several times. However, this scenario was before iOS 15.2 version came out. This iOS version makes sure that you don’t have to connect your iPhone to your computer and launch iTunes to restore all data.
Fortunately, if your iPhone has iOS 15.2, then you need not connect it to a Windows PC or Mac computer. Rather, you can easily erase your iPhone’s data with Security Lockout mode. After that, you can have your data backed up at iCloud. And, the same applies to an iPad as well.
Here’s how to erase and reset a locked iPhone or iPad:
Steps to Erase and Reset a Locked iPhone with iOS 15.2
If you have locked your iPhone or iPad, and now you can’t access it, you have to find a way to get it back. Locked iPhones and iPads are useless until you reset the device and restore data from iCloud.
However, the overall procedure to retrieve your device with optimal functioning seemed impossible without the interference of a PC or Mac computer. But, iOS 15.2 has made the process easier, and you don’t have to use a computer to gain your iPhone or iPad’s access back.
Thankfully, you can erase and reset your iPhone when iOS 15.2 is installed on it. On the other hand, your iPad should run on iPadOS 15.2 to avail this process.
Furthermore
Apart from this, your iPhone or iPad should have the Wi-Fi or cellular data turned on. Without internet connectivity, the erase and reset process is a failure. Here’s what you have to follow for a successful reset on locked iPhones and iPads:
- Try entering the passcode you remember or think is closest to the original passcode. Keep repeating this process even though your device keeps telling you that it’s a wrong passcode. Try repeating the same until you can notice an option at the lower-right corner of your device, and it says, ‘Erase iPhone/ iPad’.
- Press the ‘Erase iPhone/ iPad’ option. In addition, you have to confirm your action by tapping the ‘Erase iPhone/ iPad’ option again.
- The next screen will prompt you to provide your Apple ID and password. Ensure that you insert them carefully.
- Next, tap the ‘Erase iPhone/ iPad’ button again to provide your consent to the permanent deletion of everything on your iPhone.
- The entire procedure might take a while to complete. The iPhone or iPad might take a restart at any time. Then, you have to go through the on-screen guidelines.
These guidelines will help you set up your iPhone or iPad from factory reset settings. Additionally, your device will offer you to restore your data from iCloud. Instead of iCloud, you can use your computer or any other device on which you backed up your iPhone or iPad. In addition to this, don’t forget to set up a new passcode and remember it.
What if Your iPhone Doesn’t Run on iOS 15.2?
Then, you have no other option left rather than connecting the device to your computer. First, you have to launch your iPhone in its DFU recovery mode. Ensure that your iPhone is not connected to any computer.
If it’s an iPhone 8, 8 Plus, iPhone SE 2 & 3, iPhone X, and later, then hold the Power and Volume Down buttons simultaneously. Release the keys when the power off slider comes on the screen.
Press and hold the Power button only if it’s an iPhone 6, 6S, iPhone 7, or 7 Plus. Let the Power button go when the power off slider appears. Irrespective of the iPhone model, simply drag the slider to power off the device. However, this doesn’t put your iPhone into DFU recovery mode immediately.
You need to hold the Power button or side button for iPhone 8, 8 Plus, iPhone SE 2, iPhone X, or later. If it’s an iPhone 7 or 7 Plus, then hold the Volume Down button. Anything rather than that needs the Home button to be held for a while. While holding the specific button for definite iPhone models, you have to connect the iPhone to the computer.
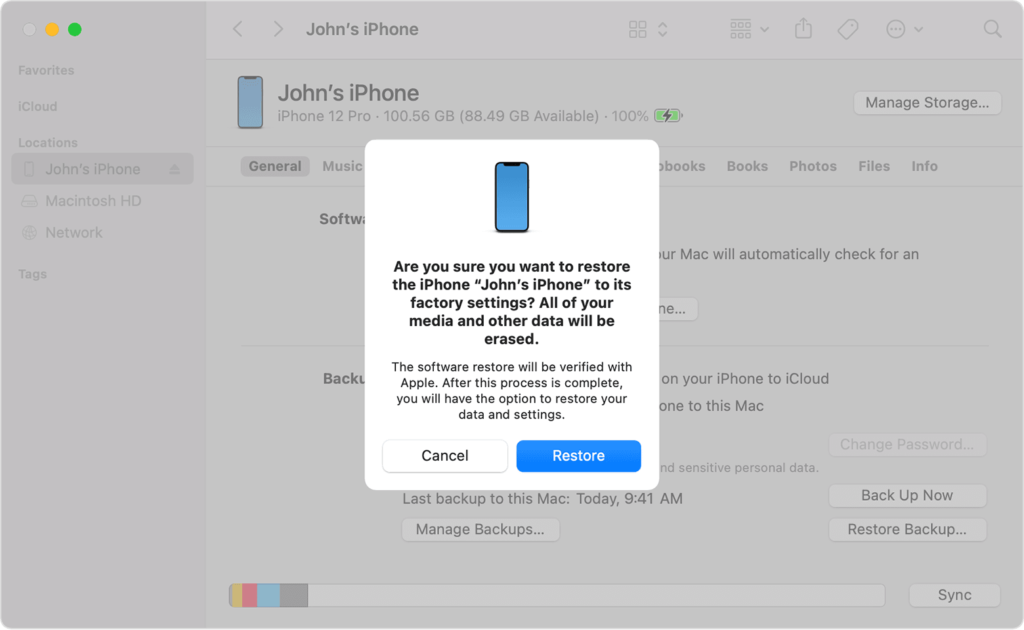
Launch iTunes on your computer and locate your iPhone there. The application might flash the opinion to Update or Restore your device. You should choose the Restore option without giving it a second thought. Wait for the process to complete.
After the process ends, you can disconnect your iPhone from the computer. Turn on your iPhone and set it up.
What to do for an iPad?
If your iPad runs on iPadOS 15.1 or earlier, then detach it from the computer if it’s connected, and Power off your iPad. If your iPad lacks a Home button, then hold the Volume button and Top button until the power slider comes on the screen. If your iPad has a Home button, only hold the Top button. Drag the slider to turn off the iPad.
Next, hold the Top button if your iPad lacks the Home button. Otherwise, you have to hold the Home button. Keep the button on hold while connecting the iPad to your computer through a lightning cable. You can release the button as soon as the recovery mode appears on your iPad.
After that, you have to open iTunes and choose your iPad. Select the Restore option, and it will take time. You can disconnect your iPad from the computer when the process completes.
Things to Watch Out
Your iPhone or iPad should have iOS 15.2 or iPadOS 15.2 if you want to erase and reset the device without connecting it to the computer. Additionally, it should have its Wi-Fi or mobile data turned on. Otherwise, you have to take the help of iTunes for a successful restore.