Now, you can easily use the screen record feature on iPhone 7. But, before you proceed, you need to understand how to screen record on iPhone 7.
Screen recording in iPhone 7 is quite a useful feature if you are trying to show a tutorial to someone. It is also useful in showing how certain features work on your iPhone 7.
Besides, you can also save the screen record on your iPhone 7 in a video format. Then, you can upload it to social media channels or share it with your contact.
Recording something that is being played on your iPhone’ screen becomes easier with the in-built screen recorder. However, first, you must ensure your iPhone 7 gets the update of iOS 12 from Apple.
If your iOS is not updated to the 12th version on your iPhone 7, we can help you with the ways to update your iPhone 7 to iOS 12. Moreover, it will help you to understand the process of screen recording on iPhone 7.
Updating iPhone 7 to iOS 12 for using Screen Recorder
Updating your iPhone 7 to iOS 12 is not a difficult thing. But before updating the iOS, you need to check if your iPhone 7 is compatible with it.
If your iPhone 7 is eligible for the iOS 12 update, you will get a free update from Apple. You have to back up your iPhone data before updating your device to iOS 12.
You can follow two different methods for updating your iPhone to iOS 12. Check out the steps as we discuss the methods.
Method 1: iOS 12 Update through iTunes
Updating your iPhone 7 through iTunes is a faster way to get iOS 12 on the device. Moreover, you need a Mac PC while updating your iPhone’s OS through this method.
Check the below steps for updating your iPhone via iTunes
- You have to download the latest iTunes version on your Mac PC. You can get it by opening the “App Store” app and selecting the “Update” button.
- After updating your iTunes on your Mac, you must connect your iPhone 7 to the PC.
- Select the iPad or iPhone icon on the upper-left side of iTunes. You will see a drop-down menu.
- Select the “Check for Update” option, and then click on “Download and Update”.
Method 2: iOS 12 Update through Over-the-air
First, you need a Wi-Fi connection to update your iPhone 7 to iOS 12. You don’t need the iTunes app or any computer to update it.
Check the following steps for updating your iPhone via Over-the-Air
- Open the “Settings” app.
- You have to tap the “general” option
- Select the “Software Update” option
You will see that the iOS of your iPhone 7 checks for updates automatically. Then, it will prompt you to download and installing iOS 12.
How to Screen Record on iPhone 7 – via Quicktime on Mac
After updating to iOS 12, your iPhone is now capable of recording the screen. You need 2 components for screen recording on iPhone 7 through Quicktime:
- A Mac PC with macOS 10 (X or Yosemite) or advanced
- A Lightning Cable
Steps of Recording the Screen of iPhone 7 with Quicktime
You have to follow the steps as mentioned below for understanding how to screen record on iPhone 7:
- First, you have to make a connection between your iPhone 7 and the Mac PC through the lightning port.
- Next, you must open the Quicktime app on the Mac PC. Search the “File” option and tap on the “Record a Movie” button on your iPhone 7.
- Find the “Record” button on the next screen. Select the “Dropdown Arrow” to display other options.
- You will identify the “Screen record” option on the next screen on your iPhone 7. After tapping on the Screen Record, you will see that the screen of your iPhone synced with the Mac PC.
- Now, if you want to screen record without any sound, select the “None” option to mute your microphone. Moreover, you can tap on the “Show Mouse Clicks” option to track your on-screen clicks.
- Use the slider of the volume option for monitoring the audio of the screen recording.
- If you want to record a particular part of your iPhone’s screen, you must drag the recording area. Then, select the recording button within that record area to begin.
How to Screen Record on iPhone 7 – via the “AirShou” app
If you want to screen record on your iPhone 7 using an external app, this method is useful. All you have to do is follow the below steps for screen recording on iPhone 7 with AirShou:
Step 1: AirShou Installation
You have to download the “AirShou” app from the iStore on your iPhone 7. If your iPhone has iOS 9.3 or advanced OS, then you need to set back the device date to 2012. Thus, it will help you to install the app without any errors.
Step 2: Allow the App on your iPhone
A pop-up message will appear on your iPhone 7, showing you that AirShou is not trustworthy. However, you must go to the “Settings” app and allow the installation process.
Step 3: Enabling Mirroring in the Airplay
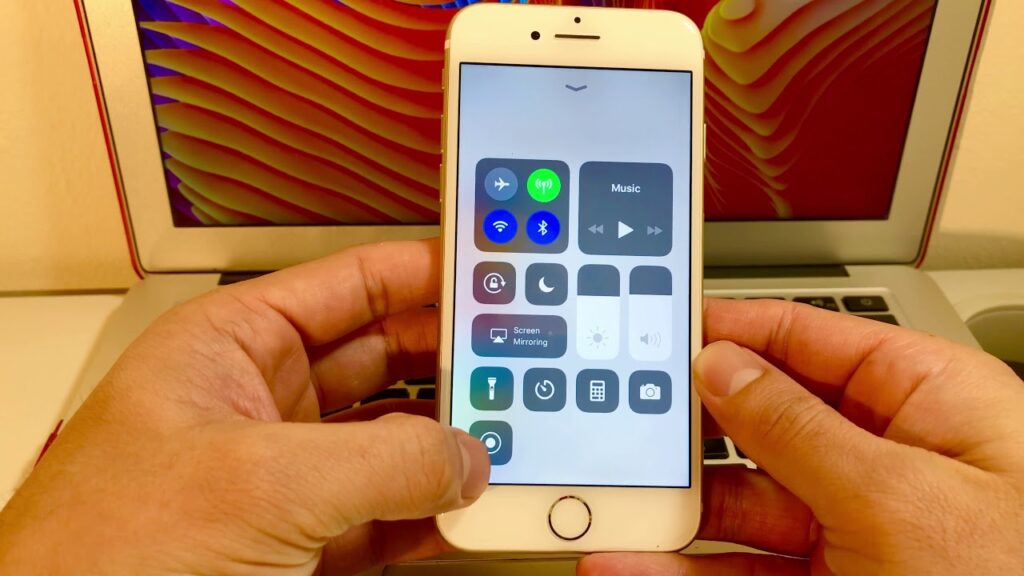
You must ensure that the mirroring option in the Airplay is enabled before starting the screen record. Moreover, you also need to make sure that your device is chosen for mirroring.
Step 4: Starting Screen Record on iPhone 7
Now, you can simply open the “AirShou” app on your iPhone. And then, you can make a free account in the app and start screen recording on iPhone 7.
How to Screen Record on iPhone 7 – via Reflector on your PC
If you do not prefer any third-party app for recording screens on iPhone 7, this method is suitable for you. Moreover, you don’t even need a Mac PC while using this method for screen recording on an iPhone.
Using Reflector is possibly the most secure and convenient method for knowing how to screen record on iPhone. Since it is a PC app, you have to install it first on your PC.
To use the Reflector on your iPhone 7, you have to download the “Airplay” app from iStore. The Reflector app works similarly to Quicktime. Moreover, it also mirrors the screen of your iPhone 7 on your computer’s screen.
First, you have to open the Reflector app on your PC. After that, you have to launch the “Airplay” app on your iPhone 7.
You have to make sure that the “Mirroring” feature is enabled on the iPhone. Once your iPhone 7 finds your PC, you can connect to the computer. Then, simply start recording on your iPhone’s screen with the PC.
This method is helpful for everyone, and you don’t need a Mac or lightning cable to record your iPhone screen. Moreover, it is a wireless process to screen records on an iPhone.
Conclusion
Now, you know how to screen record on iPhone 7. All the above ways require an external app either on your iPhone or your PC. You will find the screen records at your “Camera Roll” in video format.
Moreover, you can also edit those screen records using the “iMovie” app on your iPhone. Hence, you can download the iMovie app free of cost from the iStore. So, you can start recording without any hassle.