Have you ever wondered if you can see through black marker on your iPhone? Maybe you have a photo of a document that has some parts blacked out or a picture of a whiteboard that has some writing erased. Is there a way to reveal the hidden information using your iPhone?
The answer is yes, you can see through a black marker on your iPhone, but only to a certain extent. It depends on how thick the marker is, how well it covers the original text or image, and how much contrast there is between the marker and the background.
In this article, we will show you how to use some simple techniques to see through the black marker on your iPhone, using the default Photos app and some accessibility settings.
Understanding the Challenge
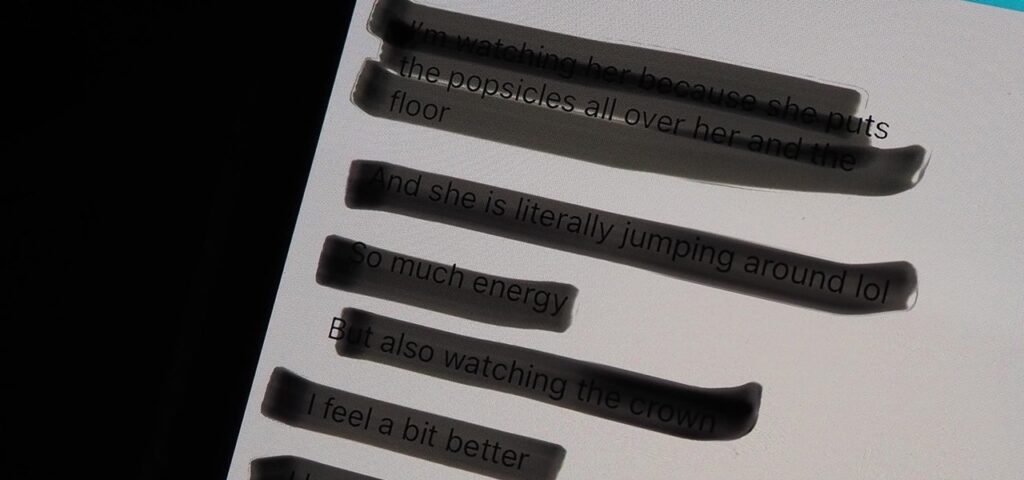
Before we start, let’s understand why it is possible to see through a black marker on your iPhone. The reason is that the black marker is not really black, but a very dark shade of gray. When you take a photo of something that has a black marker on it, your iPhone camera captures some light that reflects off the marker, as well as the background. This means that the marker is not completely opaque, but slightly transparent.
However, this transparency is not visible to the human eye, because the marker is much darker than the background, and our eyes are not sensitive enough to detect the subtle differences in brightness. That’s why we need to use some tools to enhance the contrast and brightness of the photo and make the hidden information more visible.
How to See Through Black Marker on iPhone?
Here are the steps to see through the black marker on your iPhone, using the default Photos app and some accessibility settings:
Open the Photo in the Default Photos App
You can do this by tapping on the photo in your Camera Roll, or by opening the Photos app and selecting the photo from your albums.
Tap ‘Edit’ to Access the Image Editing Tools
You can find the ‘Edit’ button at the top right corner of the screen, next to the ‘Share’ button.
Adjust the Screen Brightness and Contrast
You can do this by tapping on the ‘Adjust’ icon at the bottom of the screen, which looks like a dial with dots around it. Then, swipe left or right to select the ‘Light’ option, and drag the slider to increase the brightness and contrast of the photo. You can also tap on the ‘Options’ button at the top right corner of the screen, and adjust the individual parameters such as exposure, highlights, shadows, and black point. The goal is to make the marker as light as possible, and the background as dark as possible, without losing too much detail or quality.
Moreover, Use Accessibility Settings
You can further enhance the visibility of the hidden information by using some accessibility settings on your iPhone. To do this, go to ‘Settings’ > ‘Accessibility’ > ‘Display & Text Size’ and turn on the following options: ‘Invert Colors’, ‘Color Filters’, and ‘Increase Contrast’.
You can also adjust the settings for each option, such as choosing a different color filter or contrast level. These settings will invert the colors of the photo, apply a filter that makes the marker stand out more, and increase the contrast of the photo. Moreover, you can also use the ‘Zoom’ feature to magnify the photo and see the details more clearly.